NextGenTrigger Hardware
- Can be accessed by a Kubernetes cluster
- Thus the code needs to run in a container
- Needs kubectl installed and correctly configured (on personal machine or on lxplus)
How to Run Our Code
Create a file "session.yml" defining a pod. The marked lines you might have to change.
apiVersion: v1
kind: Pod
metadata:
  name: session-1
  labels:
    mount-eos: "true"
    inject-oauth2-token-pipeline: "true"
  annotations:
    sidecar.istio.io/inject: "false"
spec:
  containers:
  - name: session-1
    image: registry.cern.ch/ngt-wp1.7/wp1.7-soa-wrapper:latest
    command: ["sleep", "infinity"]
    resources:
      limits:
        nvidia.com/gpu: 1
    securityContext:
      runAsUser: 0
      runAsGroup: 0
In the terminal, run the following commands to start the pod and enter an interactive session.
kubectl apply -f session.yml
kubectl exec -it session-1 -- /bin/bash
Now you can "git clone" your code and build it.
Remote Development (with VS Code)
Remote development with VS Code works as follows.
- Start the container as explained in the previous section.
- Install the kubernetes and dev container extensions of VS Code.
- Attach to you container you started in Sep 1.
After that, we can develop as if we were running everything locally.
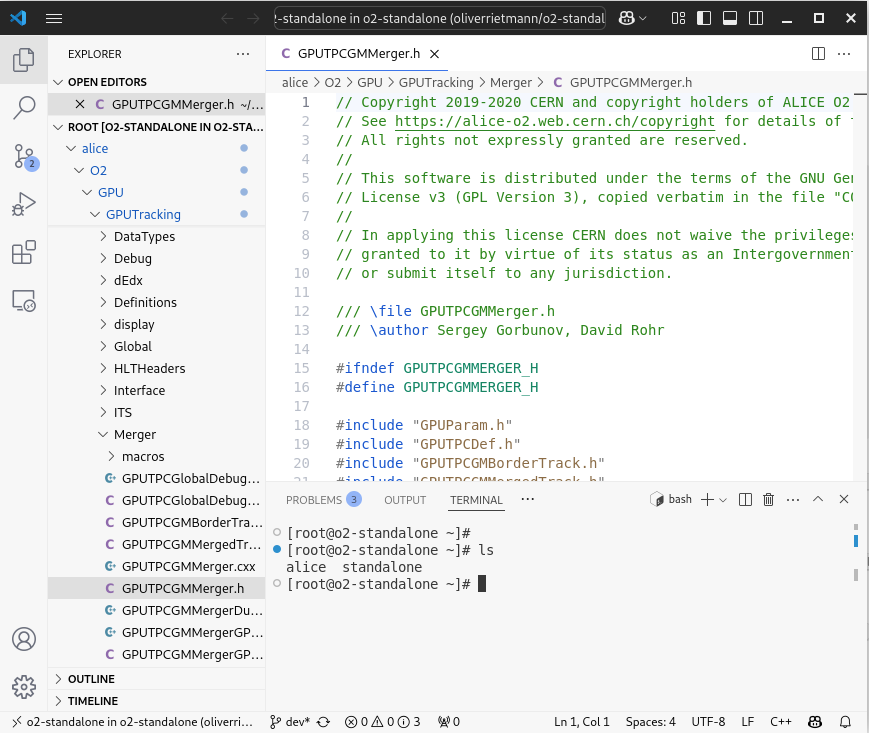
Remarks
- We have access to Cernbox under /eos/user/o/orietman, which allows easy file transfer.
- Files in the container can be browsed and edited.
- The terminal is attached to the container, i.e. we can run cmake, git, ...
TODOs
- Persistent volume claim (PVC) to save stuff between sessions
- A secret for the ssh key when we use git in the container
- Merge everything to a YAML file that works out of the box (e.g. with kustomize)
- Find a setting that allows comparable benchmarks (exclusive node access)